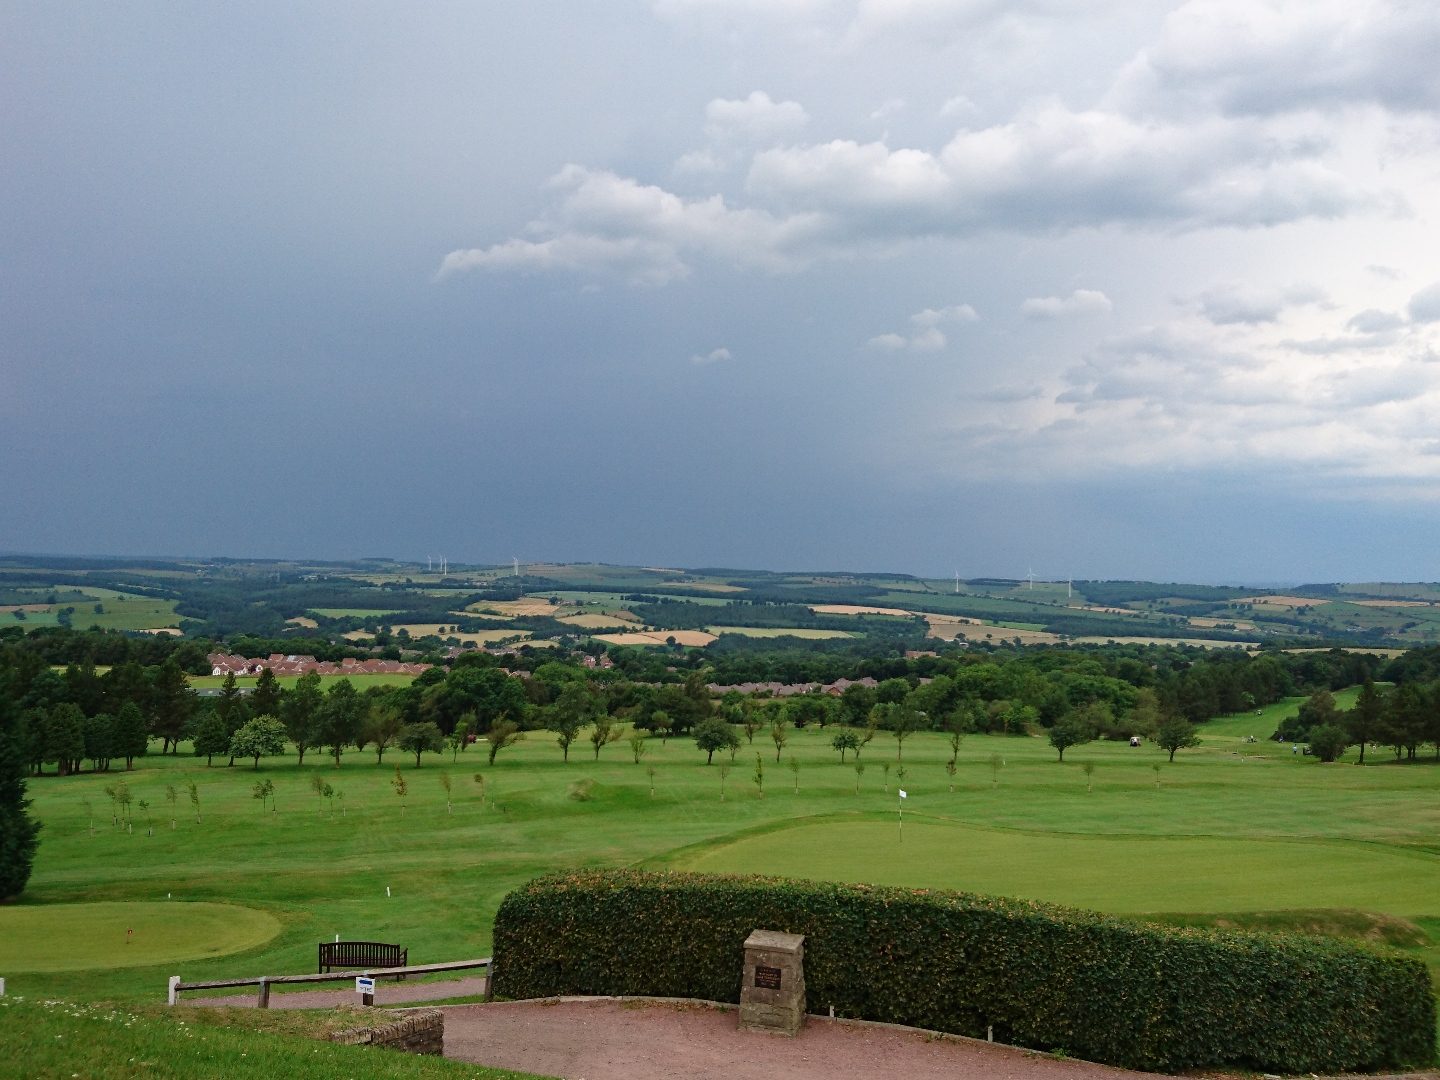
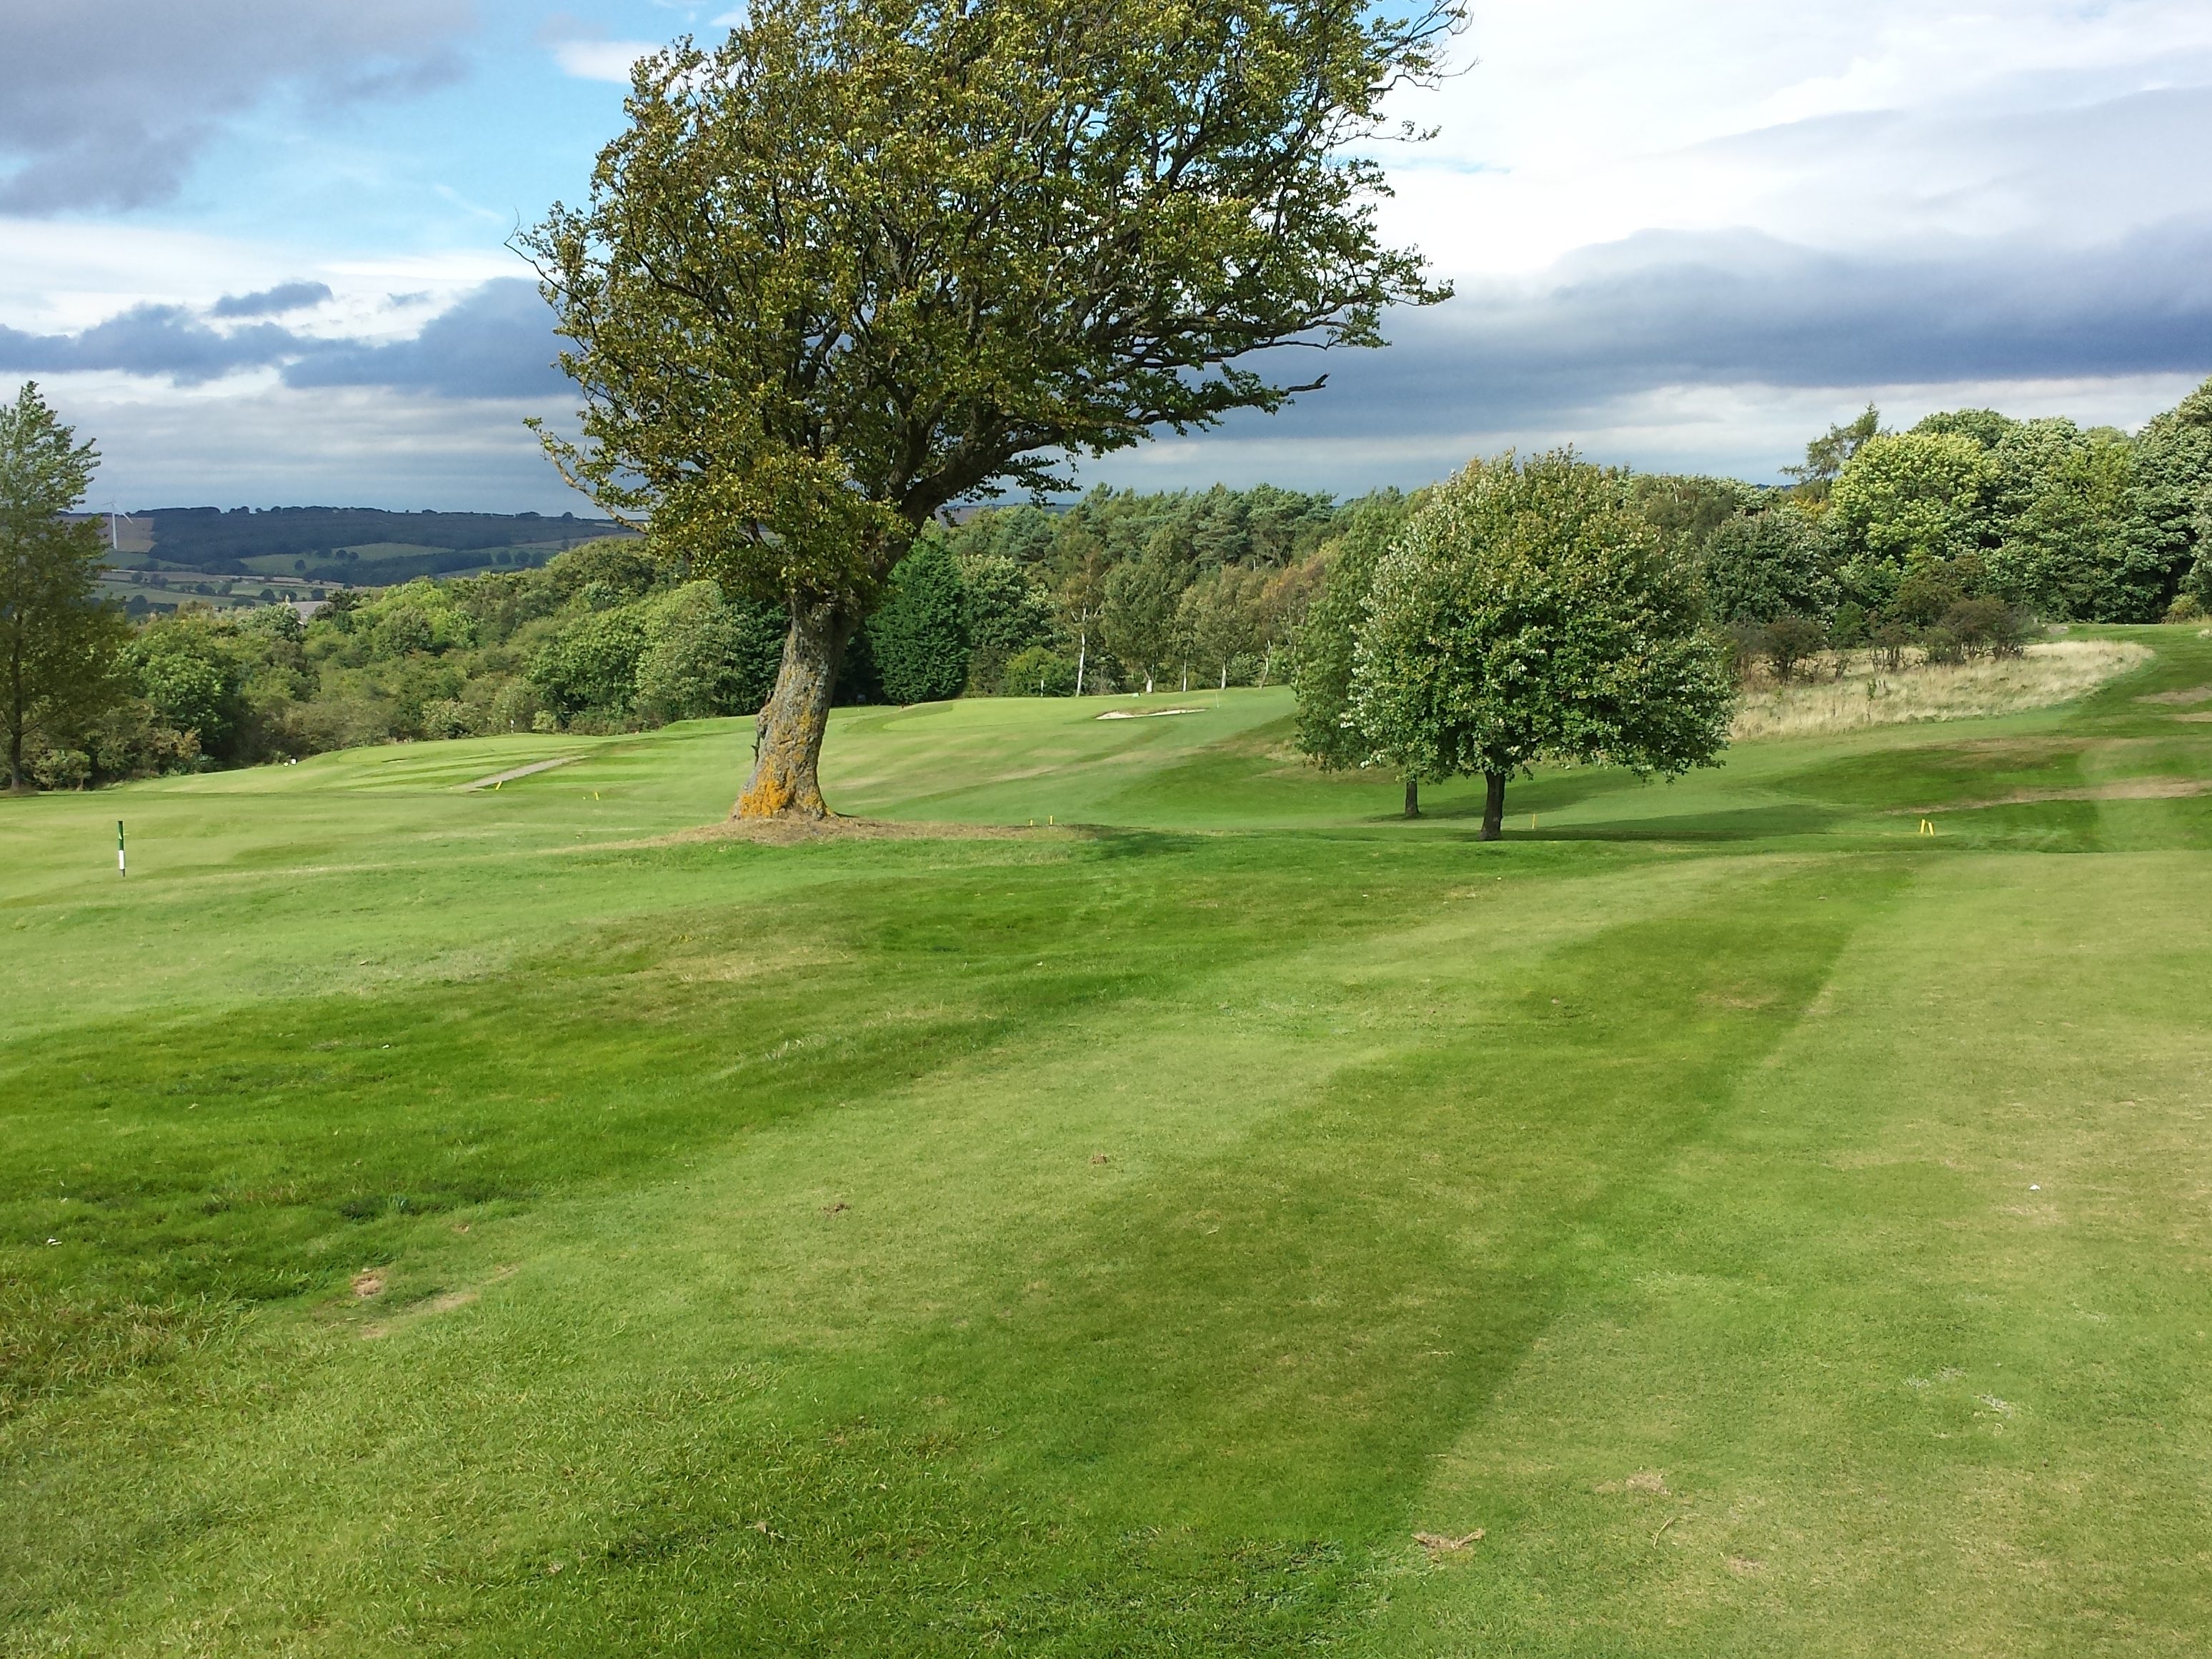
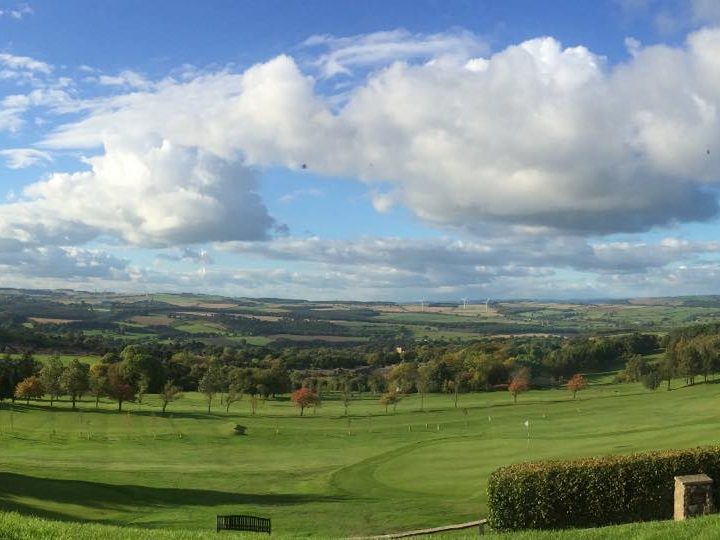
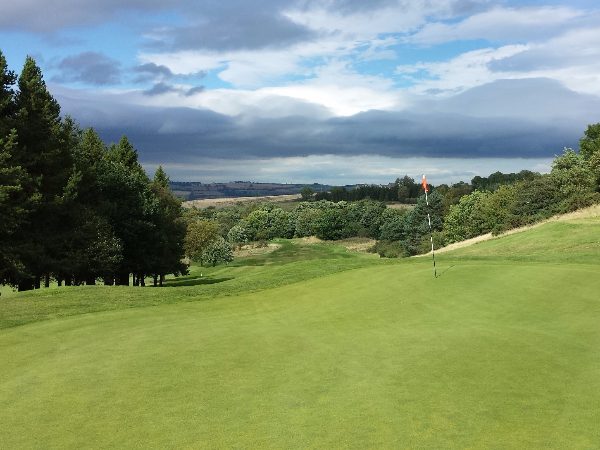
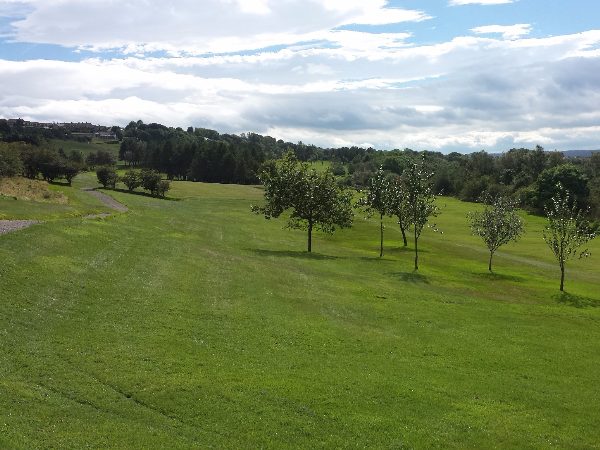
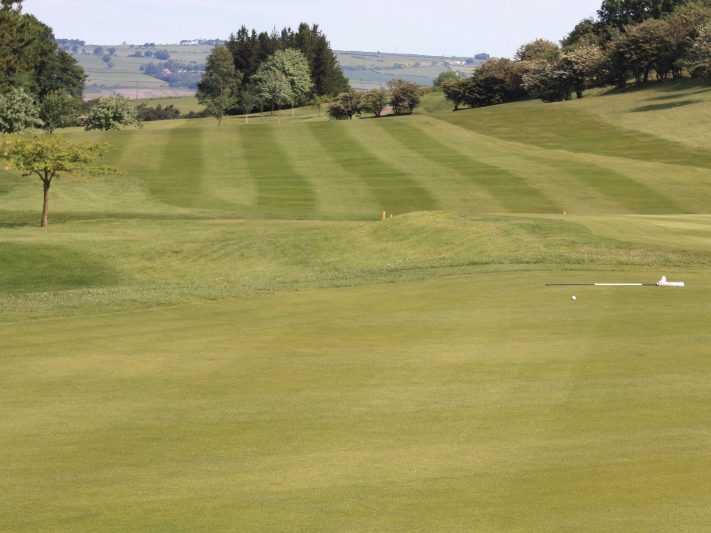
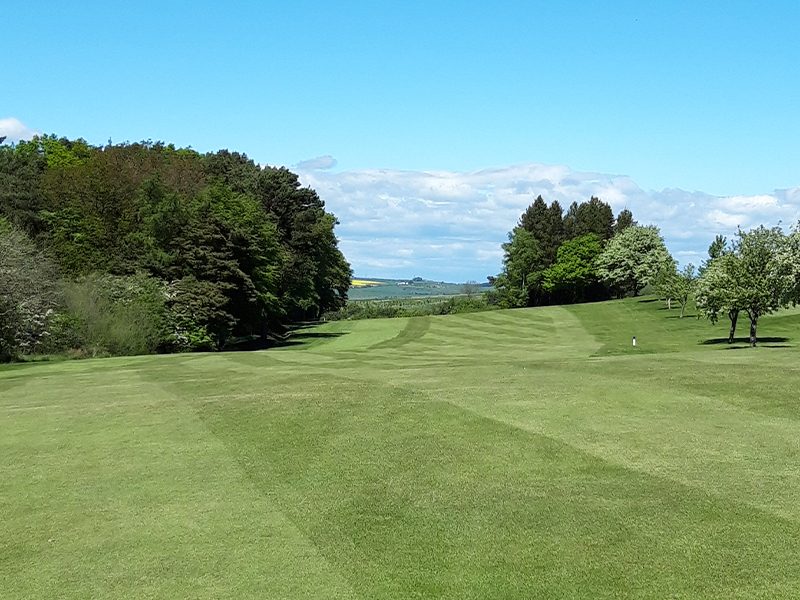
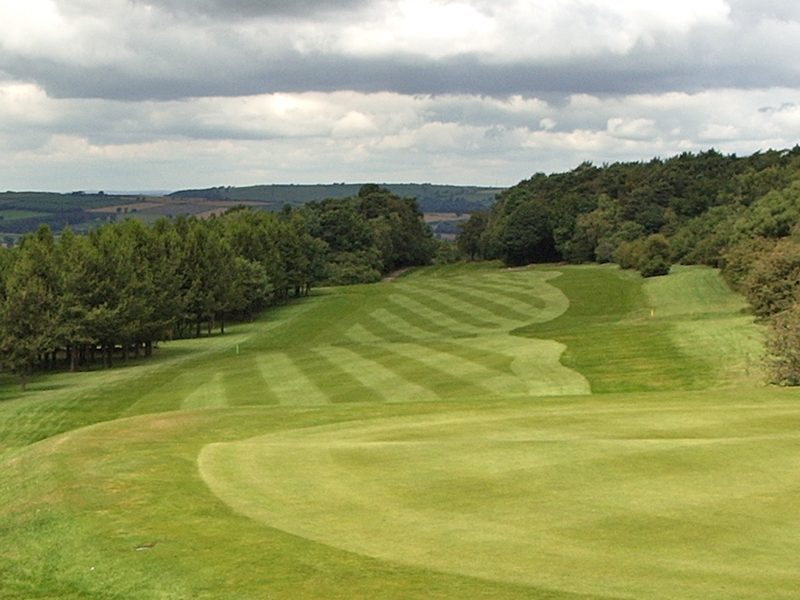
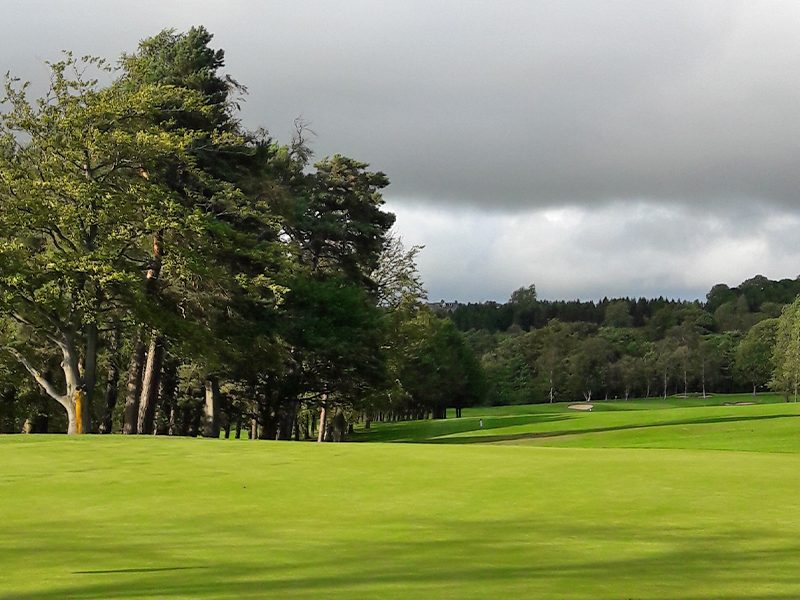
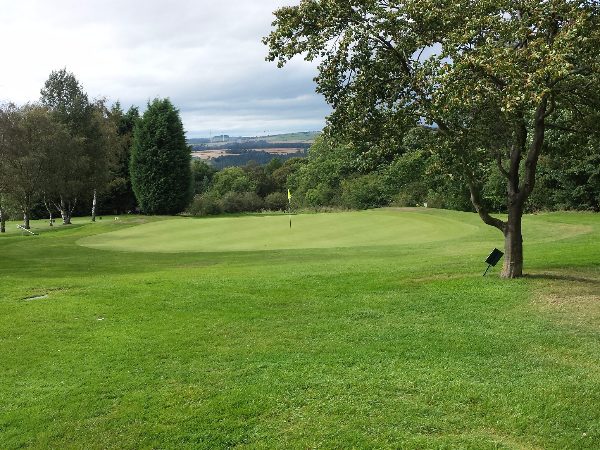
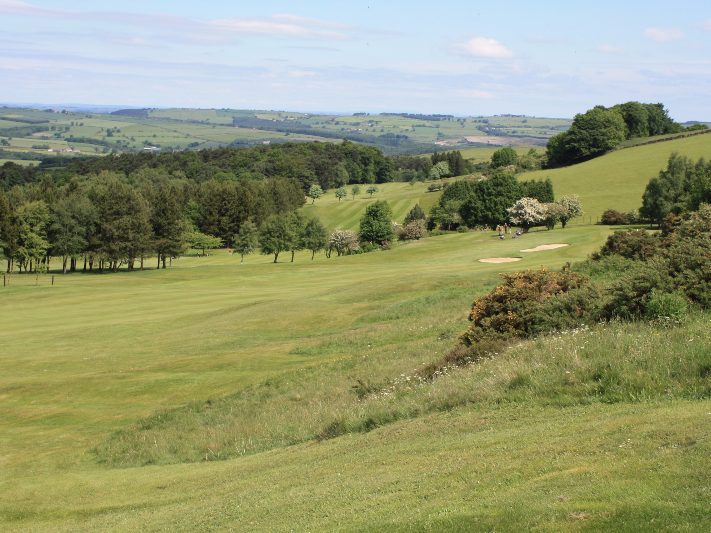
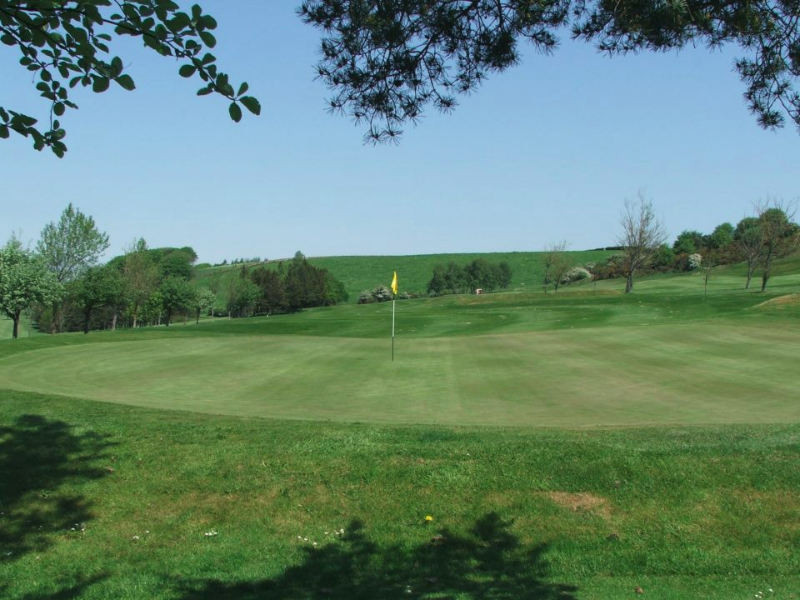
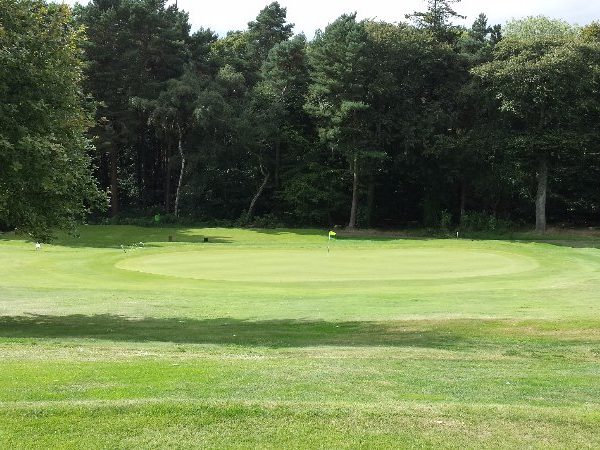
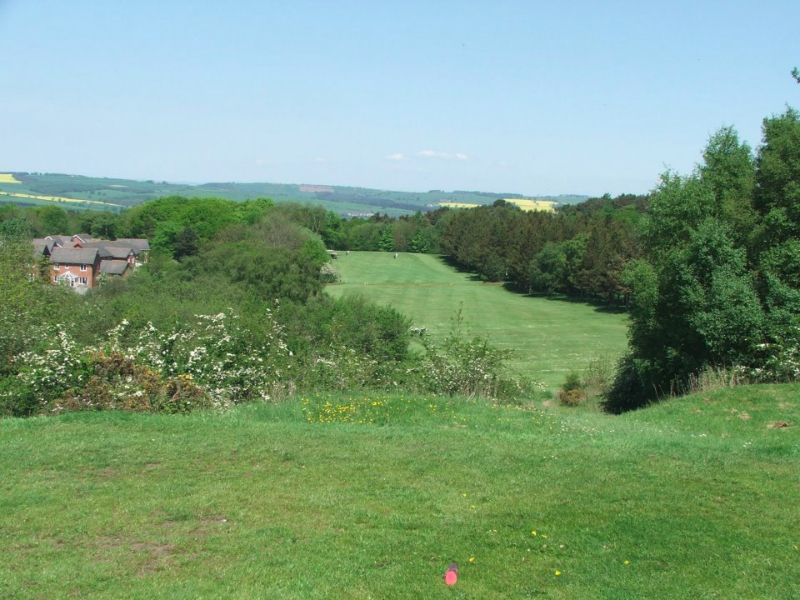
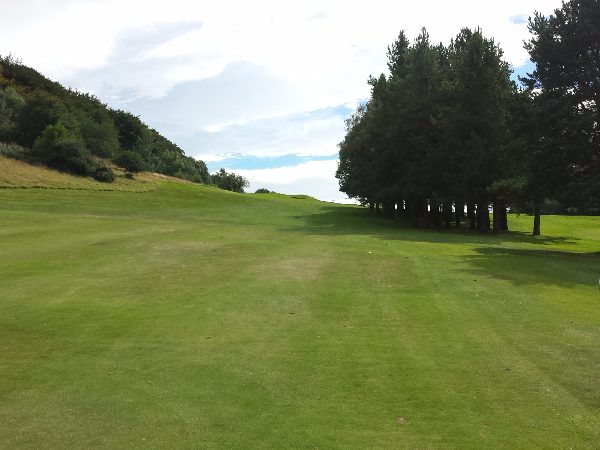
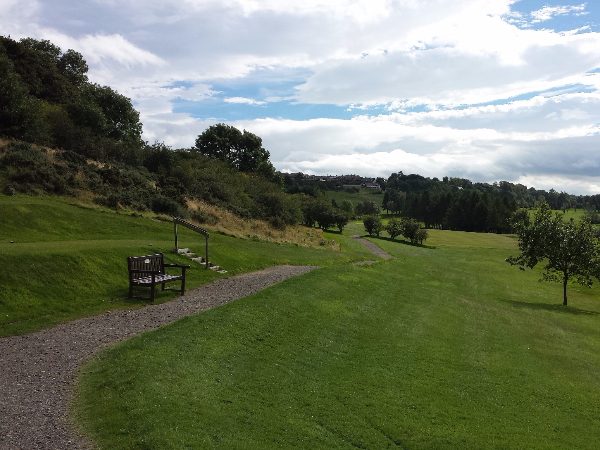
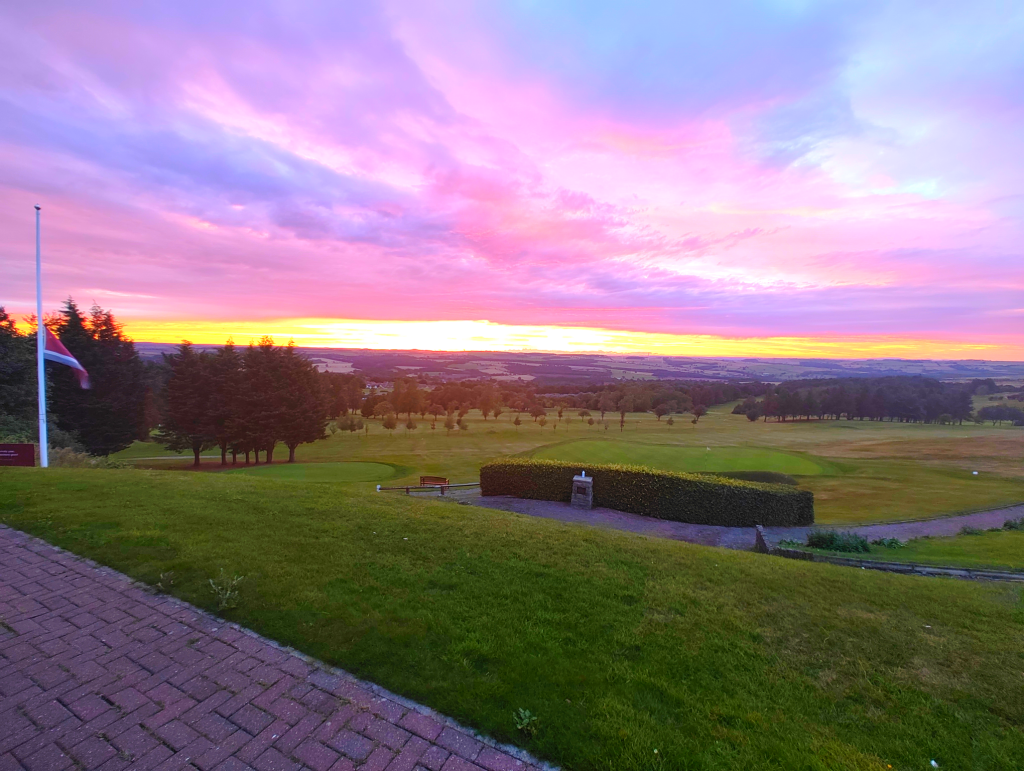
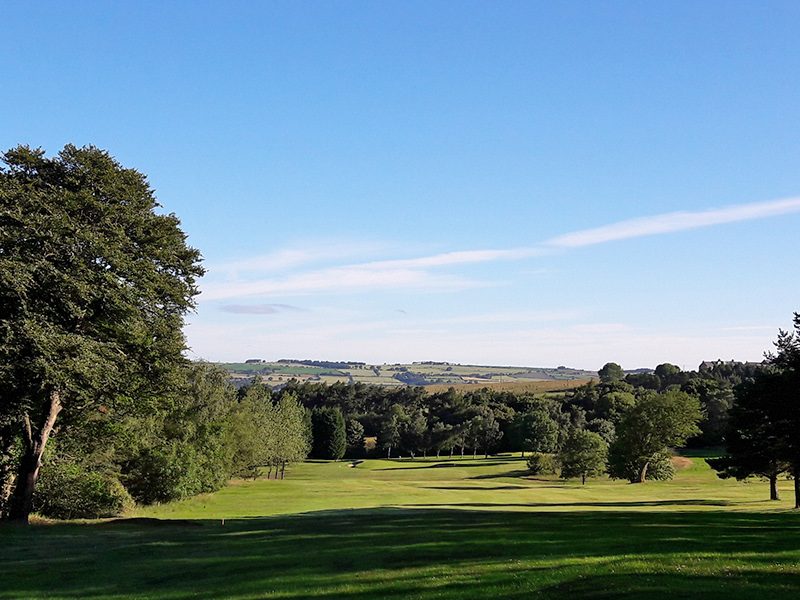
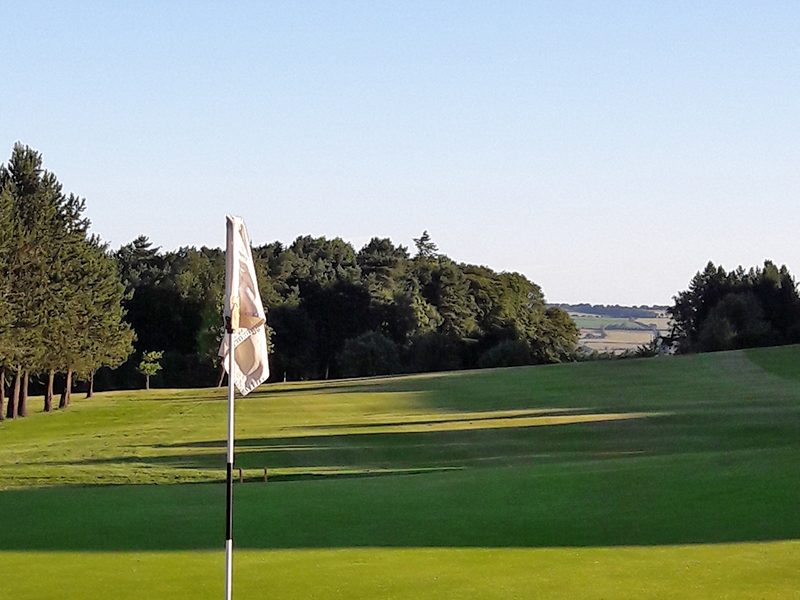
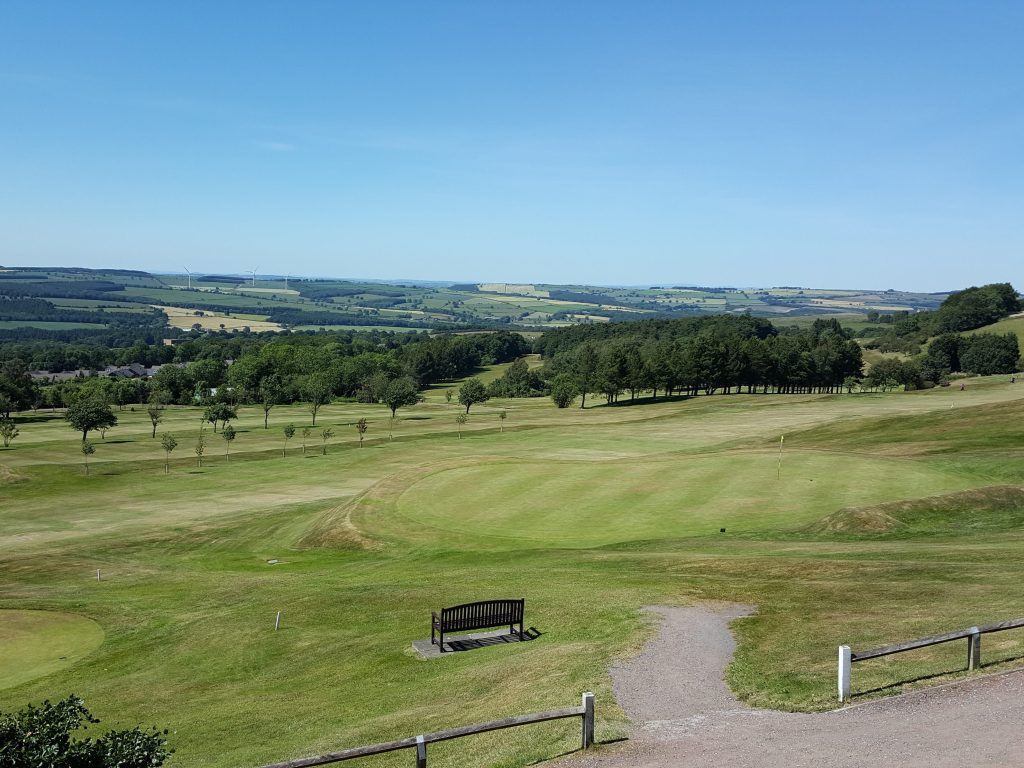
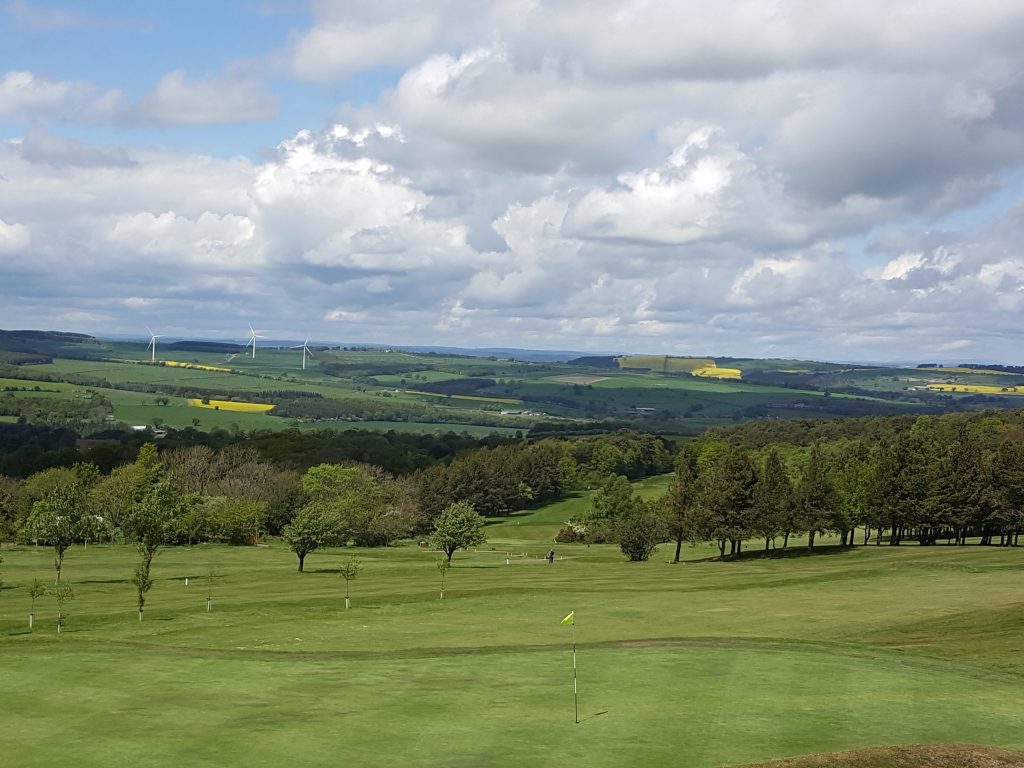
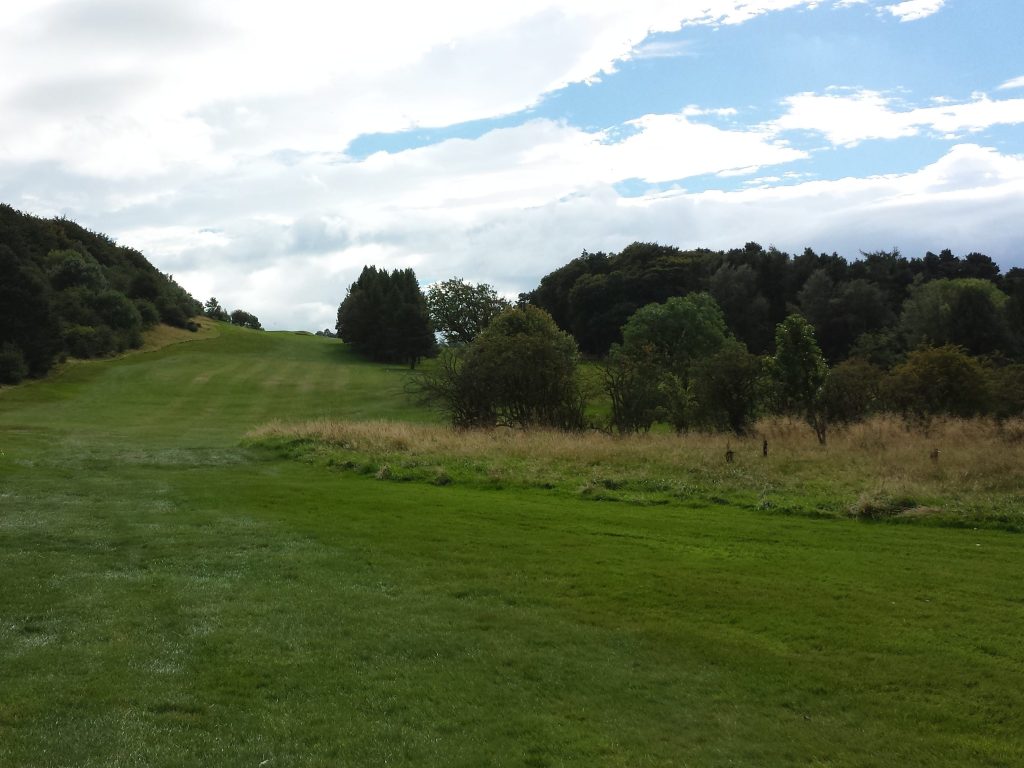
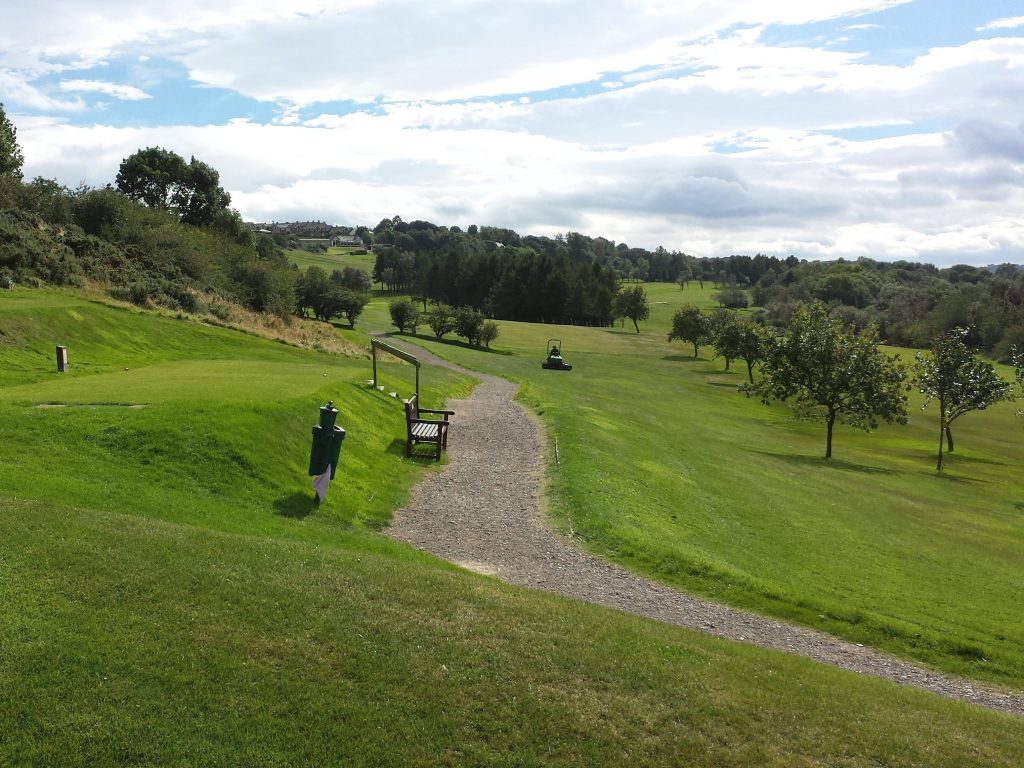
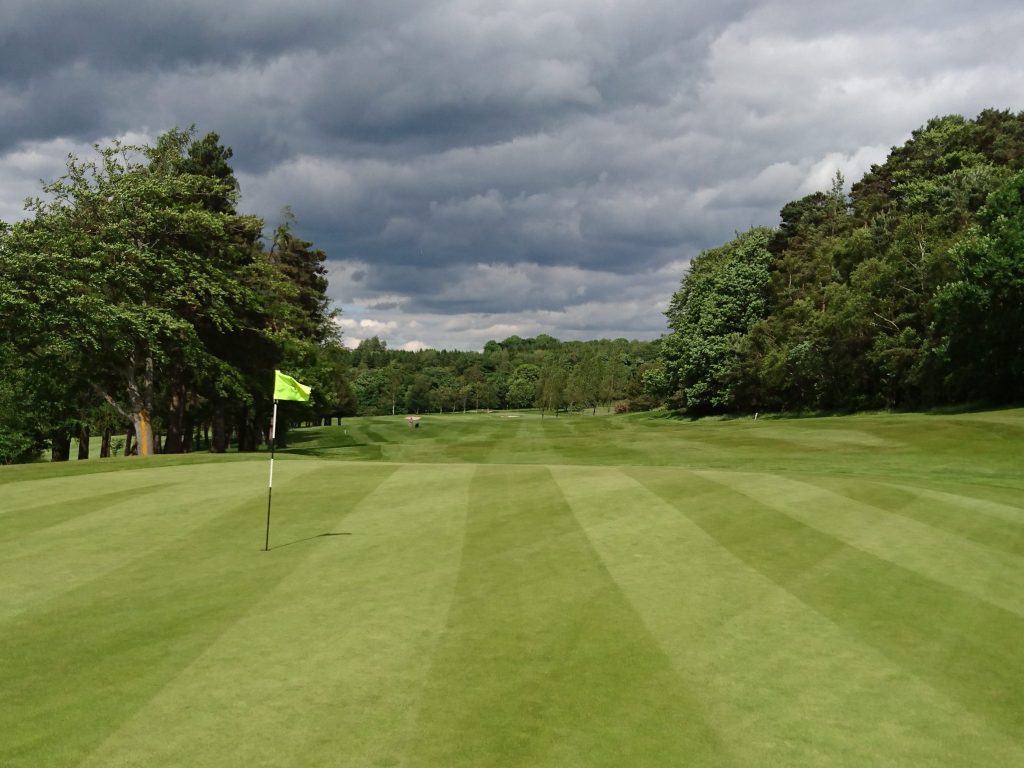
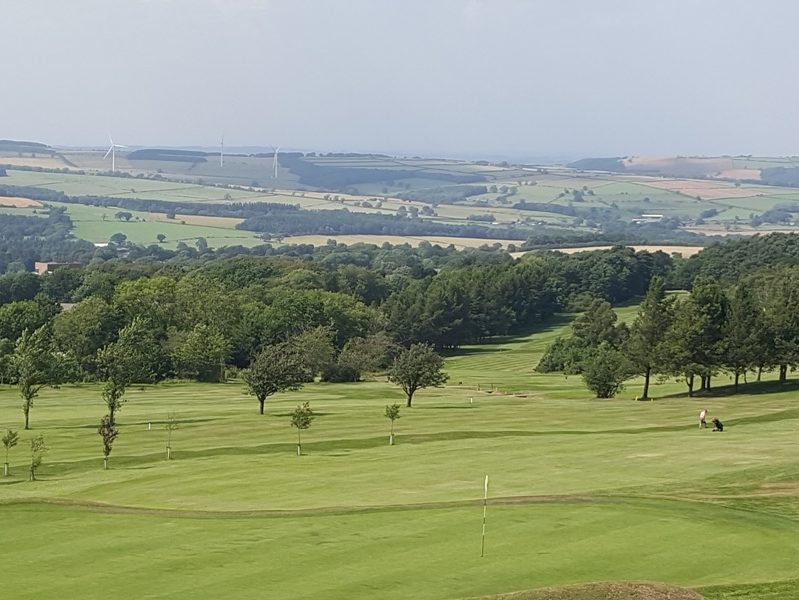
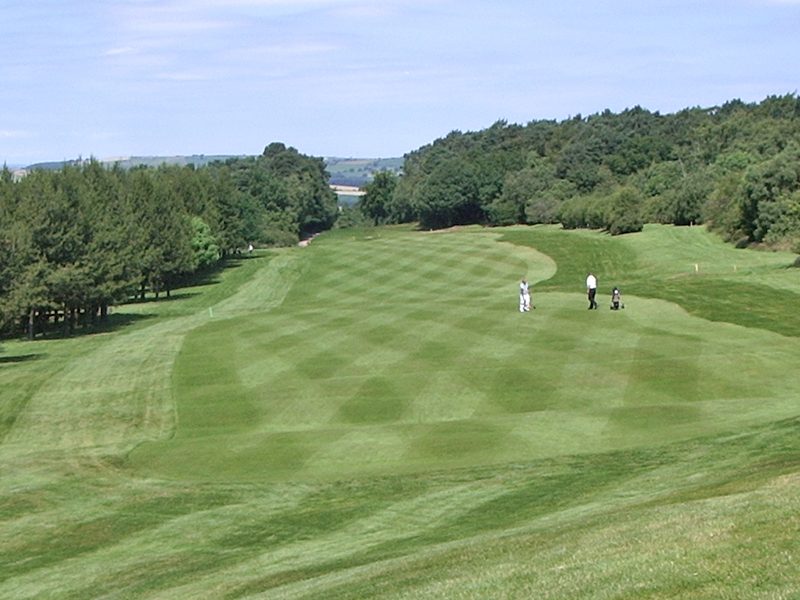
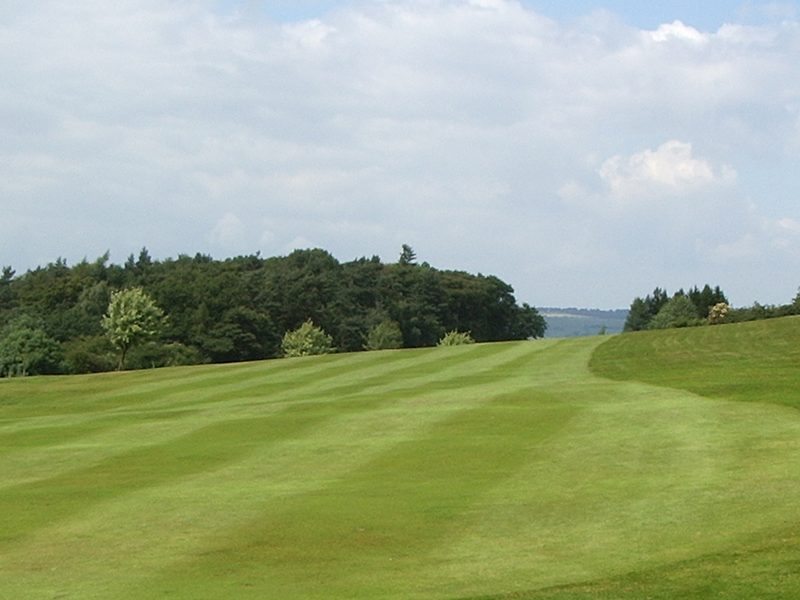
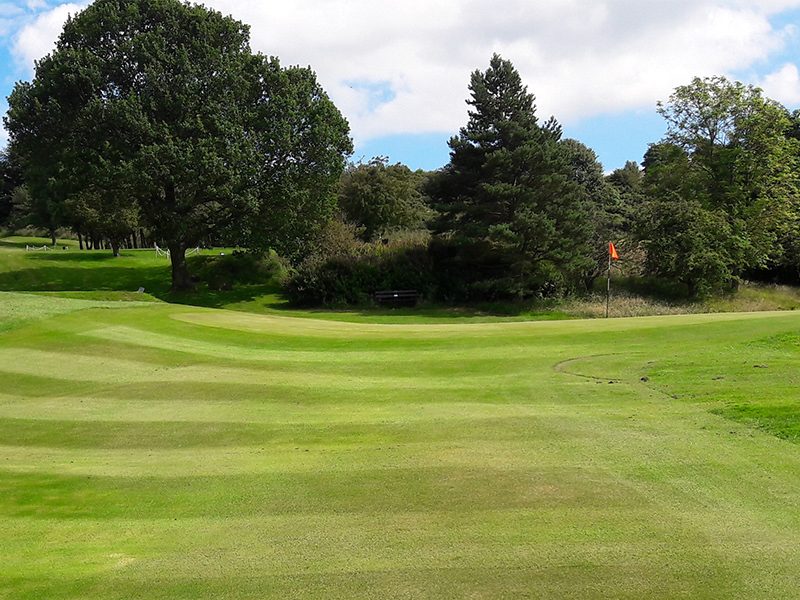
Course Gallery Overlooking the Course & the Derwent Valley From the 15th Fairway looking onto the 11th Green Overlooking the Course & the Derwent Valley Overlooking the Course & the Derwent Valley Behind the 8th Green Behind the 14th Green Looking down the 15th Fairway after conquering Heartbreak Hill A view from the right side of the teebox on the 16th Looking back to the 16th fairway from the green A long tee shot on the 10th could lead to a eagle on the 10th Looking back on the 9th fairway from it’s elevated green Looking back from the 12th Green From the 15th Teebox looking onto the 14th Green From the 18th Fairway looking down towards the 1st, 2nd & 16th Behind the 2nd Green Looking onto the 10th Green from the right side A beautiful view overlooking the Derwent Valley from the Red Tee’s on the 7th Teebox Playing up to the 15th Green A challenging opening tee shot from the 16th A view onto the 16th green from the centre of the fairway A beautiful sunset over the Derwent Valley From the 11th Teebox Behind the 7th Green Looking back from the 16th Green Looking back up to the clubhouse from the 2nd teebox Overlooking the Course & the Derwent Valley Overlooking the Course & the Derwent Valley Looking back up to the clubhouse in the distance A view up the 15th, Heartbreak Hill Looking onto the 16th Teebox Looking back from the 12th Green Overlooking the Course & the Derwent Valley Overlooking the Course & the Derwent Valley Looking back down the 9th Fairway Looking back onto the 16th Fairway A chip onto the 16th Green